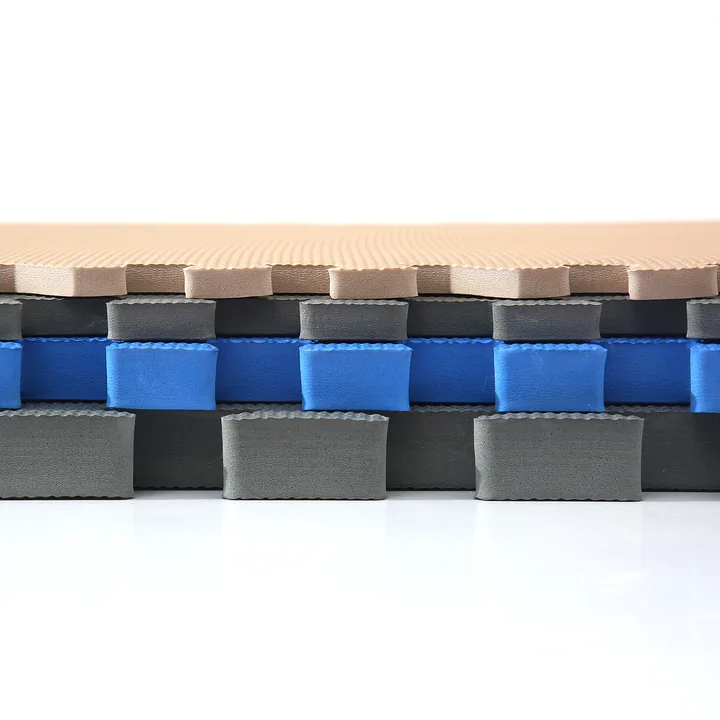
How EVA Foam Mats Are Made: From Raw Material to Finished Tile
Most buyers evaluate EVA foam mats by what they can see and feel: thickness, color, texture, edge finish. But the differences that decide whether a container sells through or generates returns are made earlier — in the compounding room, on the foaming press, and at the die-cutting table. Understanding the production line helps you ask sharper questions during supplier vetting, predict quality before samples ship, and negotiate from knowledge instead of price lists.
This guide walks through the seven stages of EVA foam mat manufacturing exactly as they run in a working factory — from raw resin pellets to shrink-wrapped cartons on a pallet.
The production line at a glance
| Stage | What happens | Key equipment | Quality control point |
|---|---|---|---|
| 1. Compounding | Resin, blowing agent and pigment mixed into pre-forms | Banbury mixer / internal mixer | Batch weight, mixing time |
| 2. Foaming | Pre-forms cured under heat and pressure into foam sheets | Hot press (molding vulcanizer) | Temperature, cure time, thickness |
| 3. Splitting | Thick blocks sliced to finished mat thickness | Horizontal splitting machine | Thickness tolerance ±0.3 mm |
| 4. Laminating | Printed film or texture layer bonded to foam surface | Lamination line | Adhesion, pattern alignment |
| 5. Die-cutting | Sheets punched into tiles with interlocking edges | Hydraulic die-cutting press | Edge burr, interlock tolerance |
| 6. QC testing | Density, hardness, tear and safety tests | Lab: densimeter, durometer | Spec sheet, EN71/CPSIA |
| 7. Packing | Sorting, shrink-wrapping, cartoning, palletizing | Packing line | Carton drop test |
Stage 1: Compounding — where quality is decided
Production starts with EVA resin pellets (ethylene-vinyl acetate copolymer, typically 18–28% VA content for mat applications). The resin is weighed and loaded into an internal mixer together with three critical additives: a chemical blowing agent (azodicarbonamide), cross-linking agents (peroxide), and pigment masterbatch for colored mats.
The mixture is compounded into uniform pre-form slabs. This is the least glamorous stage but the most important one: an inaccurate blowing-agent ratio of even 0.2% shifts the final density by 10–15 kg/m³, which buyers will later feel as a "cheaper" or "harder" mat. Well-run factories weigh every batch digitally and keep mixing records traceable by lot number — ask to see them during your audit.
Stage 2: Foaming — heat, pressure, and patience
Pre-form slabs are stacked into molds and loaded into a hot press (molding vulcanizer). Under 140–160 °C and several MPa of pressure, the blowing agent decomposes, releasing nitrogen gas that expands the resin into a closed-cell foam block. The block cures in the press for 15–30 minutes depending on thickness, then is removed and cooled.
Foaming determines the mat's core properties — cell structure, density, and ultimately cushioning and durability. Sheets are then aged for 24–72 hours before the next stage. Skipping the aging window is a common shortcut in low-cost factories; the result is dimensional instability, meaning tiles that shrink or warp after they reach a heated warehouse overseas.
Stage 3: Splitting — the thickness tolerance game
Cured foam blocks enter a horizontal splitting machine, which slices them into sheets of finished thickness — from 6 mm gym tiles up to 40 mm+ for thick play mats. A good line holds ±0.3 mm tolerance across the sheet. When a supplier quotes "1 cm thick," the meaningful question is not the nominal number but the tolerance band and how it is measured (five-point check per sheet is the professional standard).
Immediately after splitting (or in-line with it), mats destined for premium retail receive a laminated surface: a printed PET or PE film bonded to the foam under heat. Lamination is what produces wood-grain, tatami-weave and marble-look mats that command 30–50% higher retail prices than plain colored tiles.
Stage 4: Die-cutting — where tiles become tiles
Laminated or plain sheets move to hydraulic die-cutting presses. A hardened steel rule die punches each tile to its final outline — 60×60 cm, 90×90 cm, or custom sizes — and creates the interlocking puzzle edges and edge/border pieces.
Two things to inspect at this stage: edge quality (clean cuts with no burr or tearing, which requires sharp dies and correctly aged foam) and interlock tolerance (tiles from different production batches must still click together snugly — a tolerance failure shows up as gaps on the customer's floor, not in the factory).
Stage 5: Printing, embossing and surface finishing
Beyond laminated films, there are three common surface treatments:
- Screen printing — for letters, numbers and cartoon characters on children's alphabet mats
- Embossing — a textured roller presses wood-grain or tatami patterns directly into the foam surface
- Laminated print film — highest fidelity for marble, stone and photographic wood designs
For OEM orders, this is also where your logo is applied. Ask suppliers whether logo printing is done in-house or outsourced — in-house printing means faster proofing rounds and tighter color control for private-label play mat programs.
Stage 6: QC testing — the stage you should never skip
Before packing, production lots go through lab checks. A professional QC sheet for EVA mats includes:
- Density (kg/m³, measured per lot on a densimeter)
- Hardness (Asker C durometer, typically 45–60 for play mats)
- Tear strength and elongation (tensile tester)
- Thickness and dimensional check (five-point measurement per sheet)
- Safety tests — formamide, heavy metals and phthalates per EN71-3 / CPSIA, verified through third-party labs such as SGS or Intertek
Third-party test reports dated within the last 12 months are the baseline; audit-grade suppliers can also show in-process records tying each carton to a production lot. You can review the certificate categories we maintain at our certifications page, or read our detailed guide to EVA foam mat certifications.
Stage 7: Packing and loading
Finished tiles are counted into sets, shrink-wrapped, and packed into export cartons. Cartons are drop-tested, then palletized or loaded floor-loaded depending on the destination and your warehouse setup. A 40-foot container typically holds 2,600–3,000 m² of standard interlocking mats, floor-loaded.
What buyers should verify before ordering
- Equipment list vs. claimed capacity — count hot presses and die-cutting lines; each hot press supports roughly one 20-foot container per 10–15 days.
- Batch traceability
- Aging time — confirm sheets rest 24–72 hours before cutting. This one question filters out the fastest shortcuts.
- In-house vs outsourced — printing, lamination and even foaming are sometimes outsourced; each handoff adds lead time and quality risk.
- QC records — request density and hardness logs from the last three production lots, not just the certificate folder.
Want to see the line running before you commit to a container?
We host on-site audits at our Suqian factory and offer a full virtual tour of the compounding, foaming, die-cutting and QC departments. Learn about NewinBest or send us your product spec — we will reply with a production plan and a quote within 24 hours.